Alike A3/V7 Documentation
A3 Installation
The Alike Appliance (A3) is a purpose-built backup and DR solution which can be run as a VM on any major hypervisor, or can be installed as a Docker application.
The A3 can be installed with one of the following methods:
The following steps are for use with the Quadric supplied A3 virtual appliance (XVA or VHD download above).
If you are installing Alike on your own Docker server, please refer to the following documentation.
A3 Appliance Setup
The first step is to download the appropriate image above, and import it to the hypervisor of your choice. Please note- the A3 VM does not need to run in the environment it is protecting. One A3 VM can protect many hosts/pools.
Console Login
- Complete a few simple steps and you'll can proceed to Run your first job!
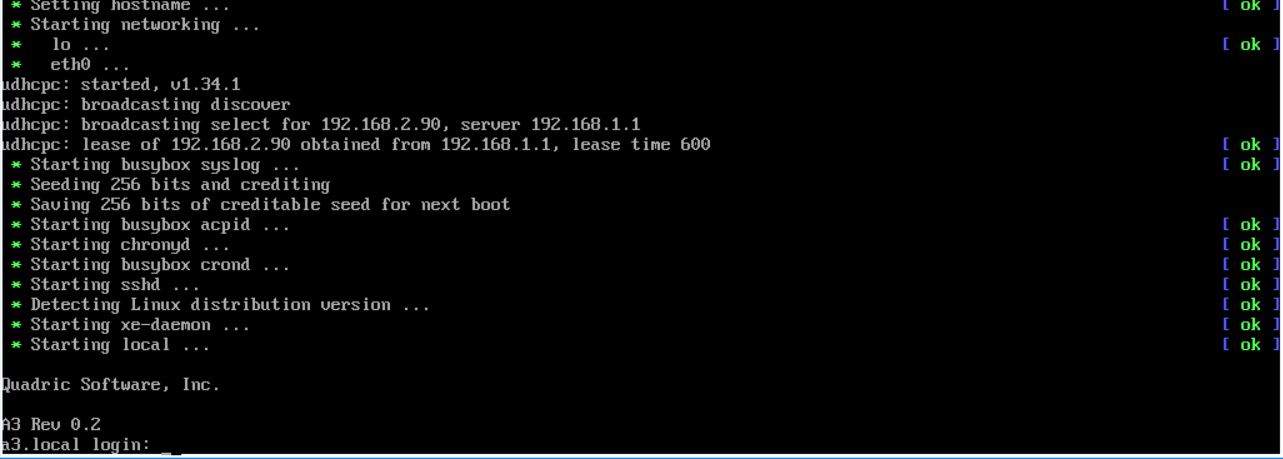
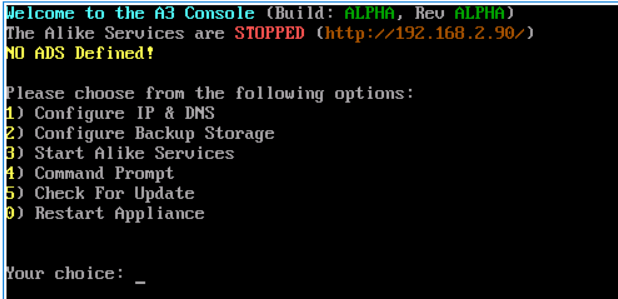
After you download and boot the A3 image, you'll see the above screen. Use the "alike" user with the "alike" password to log in. (If you are running your own Docker container, please jump to the Docker section of this guide).

Initial Setup
It's pretty easy to get your A3 configured from the console menu.

- Please configure the following items:
- 1. A3 System IP Address--menu option 1
- 2. ADS Storage--menu option 2
- 3. ODS Storage (optional- requires Alike DR Edition)--menu option 2
- 4. "alike" console password--see below
A3 Network Configuration
By default, the A3 obtains its IP from your DHCP server. This is the simplest configuration option, so if you can add a DHCP reservation for your A2, you'll be certain it always gets the same IP address after reboot or re-lease.
Alternatively, to set a static IP address, choose Option #1 from the console menu, and follow the prompts to assign the IP information desired.
You can also configure the A3's DNS servers, and timezone here.
Please Note: The A3 requires functioning DNS for software updates, remote support, and ABDs to work correctly.
ADS Storage
- NFS is the recommended storage backend for your A3
- The Alike technology stack is designed to work "out-of-the-box" with your NAS via NFS. This deployment style has shown excellent and reliable results. Other configurations can work well, but NAS over NFS is the most appropriate storage for small to mid-sized A3 deployments.
Your ADS (Alike Data Store) is the location where Alike will save all of your deduplicated backup data, and can be configured under the Stoage menu of your A3 console. The A3 VM current supports the following options:
- CIFS/SMB
- NFS
- Local Disk
- Local Disk is offered for testing a prototyping only.
- Local Disk is NOT RECOMMENDED for production deployments. If you select Local Disk for your backup data, you will be constrained by the size of the disks available on your hypervisor. On Xen, the maximum size of a disk is 2TB, which is not appropriate for most deployments. Furthermore, in the case of a Xen outage, it will be more difficult, if not impossible, to recover this disk and your backup data!
Beyond these basic storage types offered by your A3 VM, unlimited storage flexibility is availabled and built right into the A3 architecture and design.
- If you need storage flexibilty, look into Docker.
- For support for arbitrary storage configurations, please consider running your own docker host as described here Docker Installation.
For more details on storage, please see the Data Storage section for more information about how to configure them for Alike.
Console Access Password
- Change you A3 Alike password after installation to secure it!
- Your A3 VM ships with the login "alike" for SSH and SCP (port 22). You can change the default password of "alike" to the password of your choice using the Linux "passwd" shell command. It's recommended you do this in order to secure your environment.
The Docker container listens on port 222 for SSH and SCP and also has an "alike" user. To change its password from the default, you must use the Alike WebUI under Settings.
Recovering Data Stores
If you have an existing A3 data store and need to connect it to a new A3 environment, you can do so through the Storage menu.
Next Steps
After completing these steps, you're ready to proceed to Run your first job.